Glossary Management Guide
Lingora's Glossary lets you define how specific terms should be handled across every translation in your org — whether that means enforcing a preferred translation for a brand name, or protecting a technical term so it is never translated at all.
What is the Glossary?
The Glossary is an org-scoped dictionary of terms and their preferred handling. Each entry tells Lingora what to do when it encounters a particular source string during translation:
- Preferred translation: Use this exact target-language equivalent every time.
- Do Not Translate: Protect this term — wrap it as a placeholder before any engine call so it passes through untouched.
Glossary terms are applied automatically during preprocessing, before any translation engine is called. You do not need to do anything special at the project or string level — once a term is in the Glossary, every future translation in your org respects it.
Why this matters for Salesforce metadata:
Salesforce environments are full of proper nouns — product names, object names, custom field labels, and branded terms — that should never be translated or should always be translated in a specific, consistent way. The Glossary ensures those decisions are made once and applied everywhere.
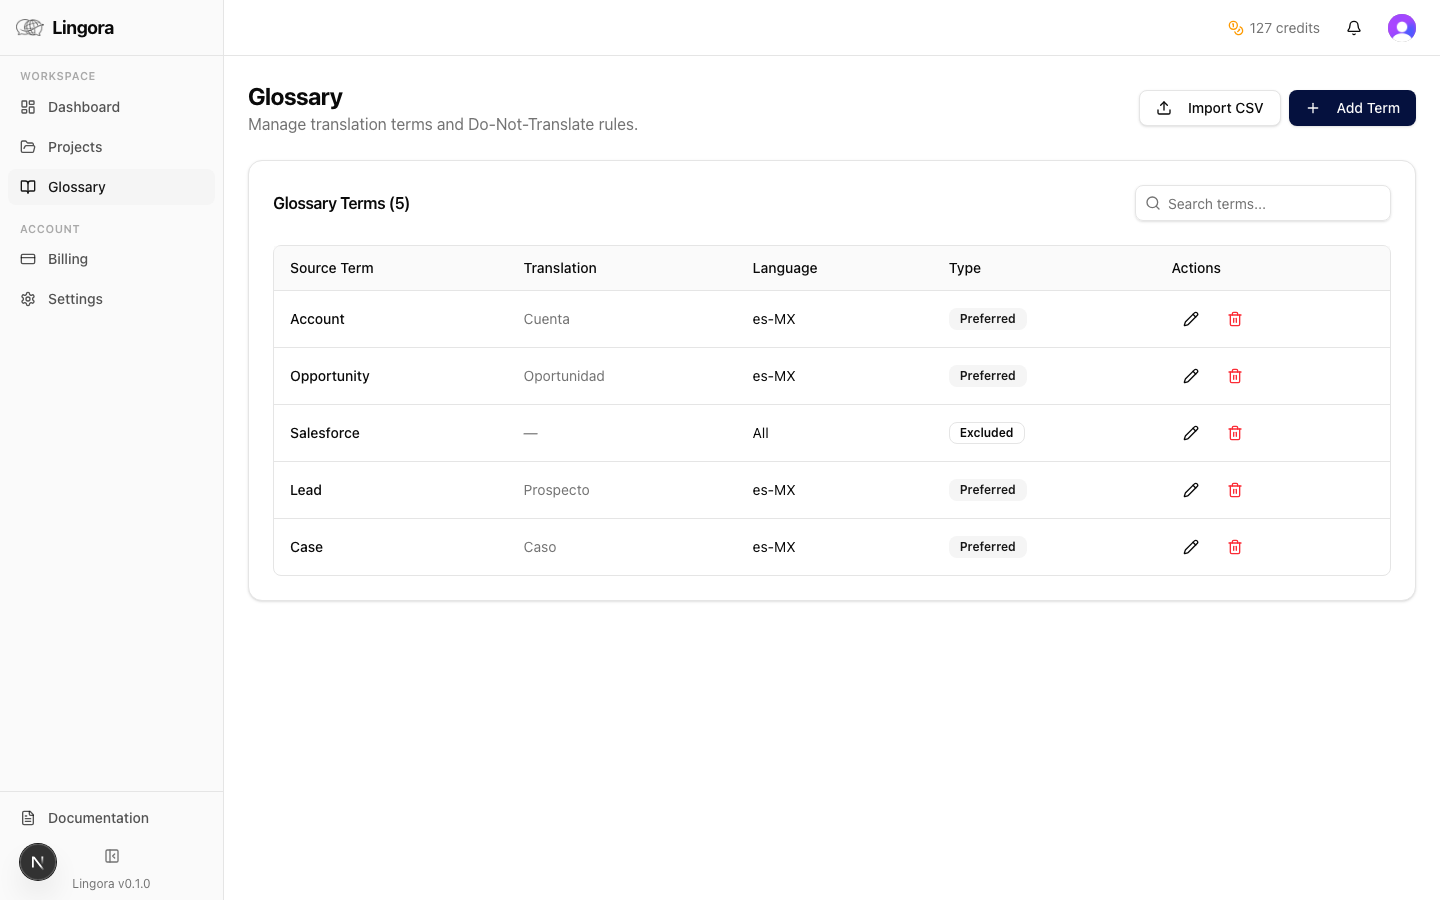
Accessing the Glossary
Click-path: Sidebar > Glossary
The Glossary page displays a searchable, paginated list of all terms defined for your org. Each row shows:
- Source term
- Target language
- Target term (or a "Do Not Translate" badge)
- Case-sensitive indicator
- Edit and delete actions
Use the search bar at the top to filter by source term or target language.
Adding a Term
-
Click the Add Term button in the top-right corner of the Glossary page.
-
A form panel appears. Fill in the following fields:
Field Description Source term The original text to match (e.g., Account,Opportunity)Target language The language this entry applies to (e.g., Spanish, French) Target term The preferred translation in that language (e.g., Cuenta)Do Not Translate Toggle on to protect this term instead of providing a translation Case-sensitive Toggle on to match only the exact casing of the source term -
Click Save to add the term. It takes effect immediately for all subsequent translations.
Note: If "Do Not Translate" is enabled, the Target term field is ignored. The term will be tokenized as a protected placeholder before any engine call and restored exactly as-is in the output.
Editing a Term
- Find the term you want to change in the Glossary list (use the search bar if needed).
- Click the edit icon (pencil) on the right side of the term row.
- The edit form opens pre-filled with the current values.
- Make your changes and click Save.
Changes apply to translations run after the save. Previously translated strings are not retroactively updated.
Deleting a Term
- Find the term in the Glossary list.
- Click the delete icon (trash) on the right side of the term row.
- A confirmation dialog appears. Click Delete to confirm.
Deleted terms are removed immediately and will no longer influence future translations. Existing translated strings are not affected.
CSV Bulk Import
For large glossaries, importing terms one by one is impractical. Use the CSV bulk import to add many terms at once.
Steps
-
Click the Import CSV button near the top of the Glossary page.
-
Prepare your CSV data with the following headers (first row must be the header row):
source_term,target_term,target_language,do_not_translate,case_sensitive -
Example rows:
source_term,target_term,target_language,do_not_translate,case_sensitive Account,Cuenta,es,false,true Salesforce,,fr,true,false Lightning Experience,Lightning Experience,de,true,true Opportunity,Opportunité,fr,false,false -
Paste or upload your CSV data in the import dialog.
-
Click Import. Lingora validates each row and reports any errors before committing.
CSV Field Reference
| Column | Required | Values | Notes |
|---|---|---|---|
source_term | Yes | Any text | The term as it appears in source files |
target_term | No | Any text | Leave empty if do_not_translate is true |
target_language | Yes | Language code or name (e.g., es, Spanish) | Must match a language Lingora recognises |
do_not_translate | No | true / false | Defaults to false |
case_sensitive | No | true / false | Defaults to false |
Rows with missing required fields are skipped and listed in an error report after import.
How the Glossary Integrates with Translation
The Glossary is applied automatically at multiple points in the translation pipeline:
1. Preprocessing (all engines)
Before any string is sent to a translation engine, the preprocessor scans it for glossary terms:
- "Do Not Translate" terms are tokenized as numbered placeholders (e.g.,
{{2}}) alongside Salesforce merge fields and format tokens. The engine never sees these terms, so they cannot be mistranslated. They are restored to their original form after the engine returns its output. - Preferred translation terms are noted for injection into LLM prompts (see below).
2. LLM Prompt Injection (Lingora LLM engine)
When the Lingora LLM engine translates a string, any matching preferred translation terms are included in the system prompt as a reference glossary. The model is instructed to use these exact translations rather than generating its own.
3. DeepL Native Glossaries API
When DeepL is the active engine for a resource type, Lingora passes your glossary entries to DeepL via its native Glossaries API. This means DeepL enforces your preferred translations at the engine level, not just as a post-processing step.
4. Translation Memory Interaction
Glossary terms and Translation Memory work together. A TM match that was originally translated with a different glossary state may be flagged for review if the glossary has been updated since that translation was stored.
Best Practices
- Build your glossary before starting translation. Terms added after translation has already run will not retroactively update existing candidates. Setting up glossary entries first ensures consistent output from the very first run.
- Include all brand and product names. Names like your company name, product suite names, and proprietary terms should almost always be set to "Do Not Translate".
- Include Salesforce-specific terms. Object names you have customised (e.g., if you renamed "Accounts" to "Clients") should have explicit glossary entries to preserve your org's terminology in every language.
- Use case-sensitivity deliberately. Enable case-sensitive matching only when the same word has different meanings in different cases in your content. Leaving it off is usually safer and catches more variations.
- Validate after bulk import. Run a small test translation after a bulk import to confirm that protected terms are being preserved correctly.